How to Create a Web Form in 3 Steps
Create a Web Form Using Five’s Online Web Form Generator
In this article, we explain the three steps required to build and launch a web form using Five’s rapid application development environment.
The steps are:
- Create the database,
- Add your form, and
- Launch of the web form.
Last, we will map out the steps to secure a web form through logins, authentications, and permissions.
Step 1: Create Your Web Form’s Database
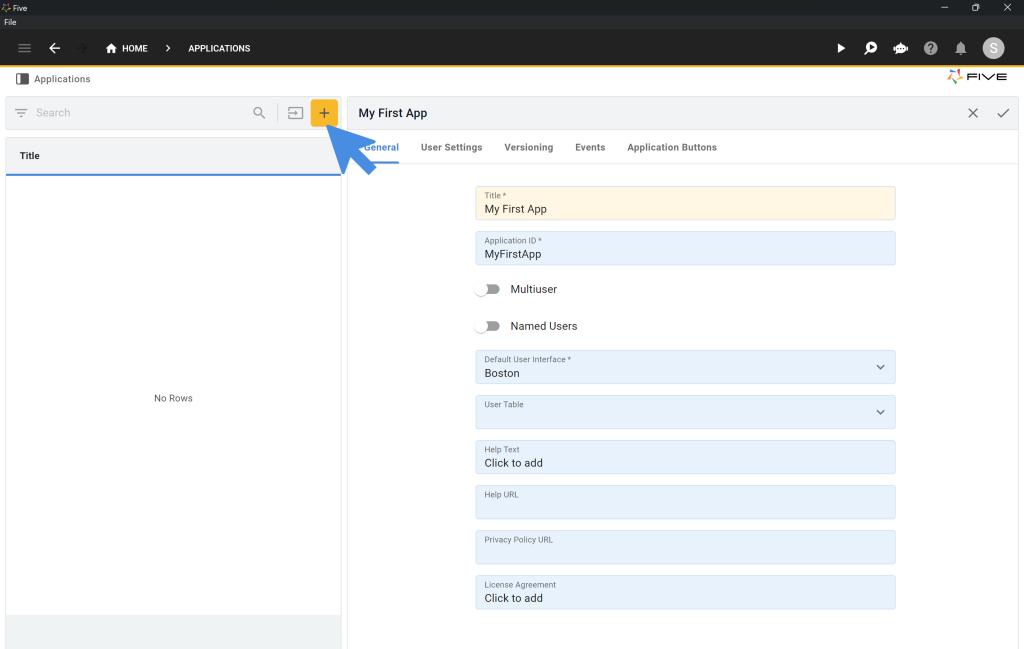
To do so, access Five, and create a new application by clicking on Applications (in the top left corner, just under the hamburger icon) >> Yellow Plus button.
To create a web form, we must first create a database that stores responses.
Next up,
- Give your application a Title, such as My First App or Web Form.
- Click on the ☑️ tick icon in the upper right corner.
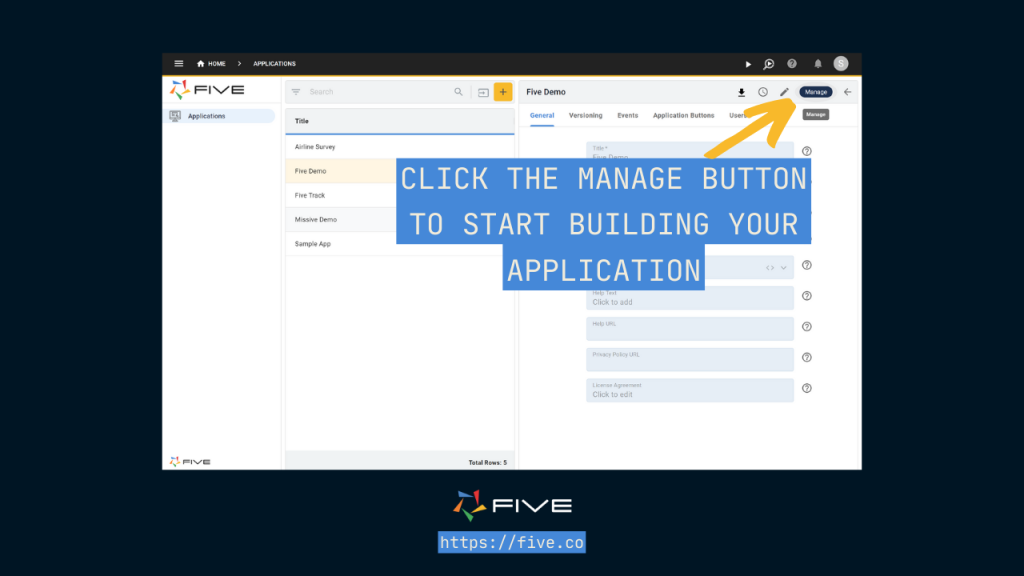
You will now see a blue Manage button in the upper right corner. - Click on Manage to enter the Five development environment.
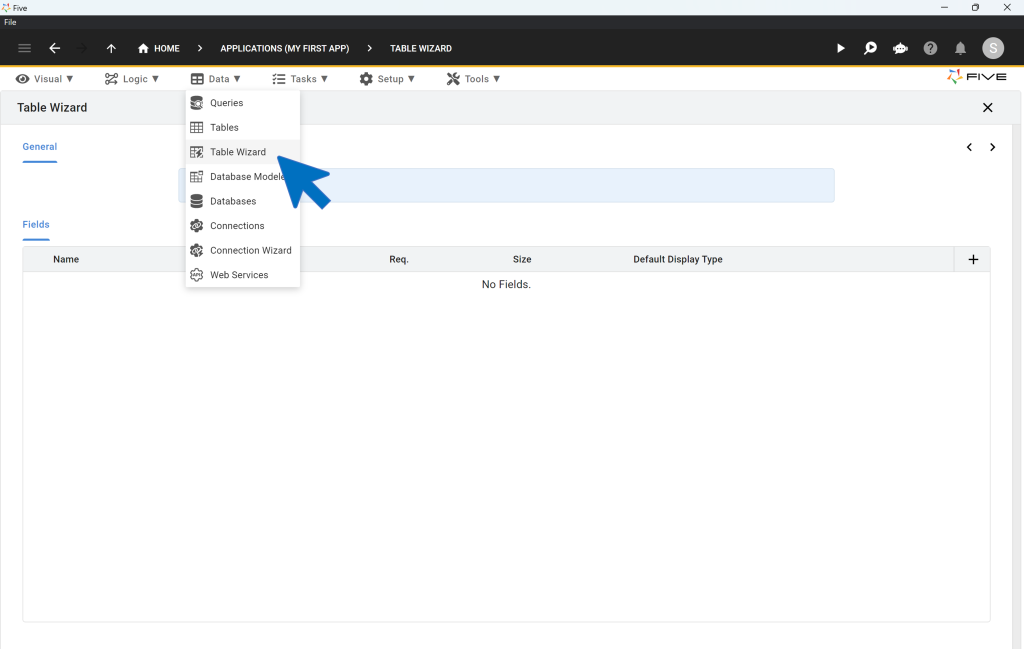
Next, click on Data > Table Wizard. Five’s table wizard is a point-and-click interface for creating database table.
Here is where to find the table wizard:
- Fill in the Name field to give your database table a name. Choose something descriptive. For example, if you plan to collect information about Recipes call your database table Recipe.
- Click on the Plus icon on the right and towards the center of the screen. This plus button adds database fields to your table. Add as many fields as you need.
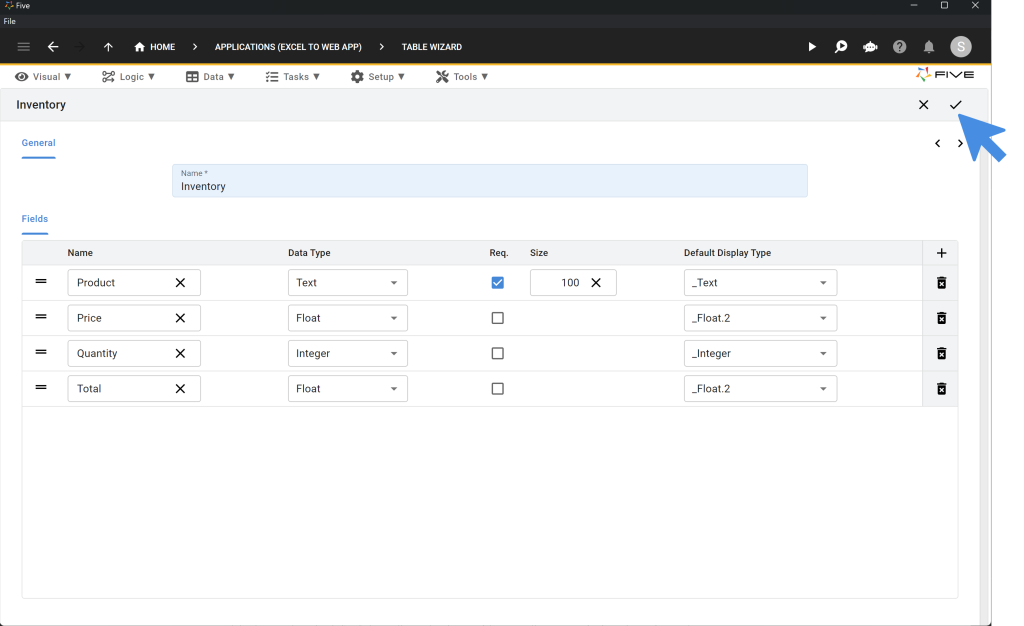
For example, shown above is a table that has four fields for products, prices, quantities, and a total sum. As you can see, for the price and total field, we are expecting to store floats, or numeric values that are not an integer. For quantity, on the other hand, we are expecting integers. Last, our product field is a simple text field in our web form.
The display types reflect our choice of data type. _Float.2 indicates that we expect two decimals for our price and total fields.
Make sure to select the appropriate data and display types for the data you are dealing with.
As a recap: data types define how your database stores records. Display types define how you your data is displayed to users inside your form. Five comes with a great library of prebuilt display types, such as ratings, images, floats, or currency.
Last, save by clicking the ☑️ tick icon in the upper right corner.
We have now created a single-table MySQL database that is ready to store information from our form.
Now, let’s move on to Step 2, adding forms to our database.
Step 2: Creating the Web Form
- Go to Visual >> Form Wizard in Five.
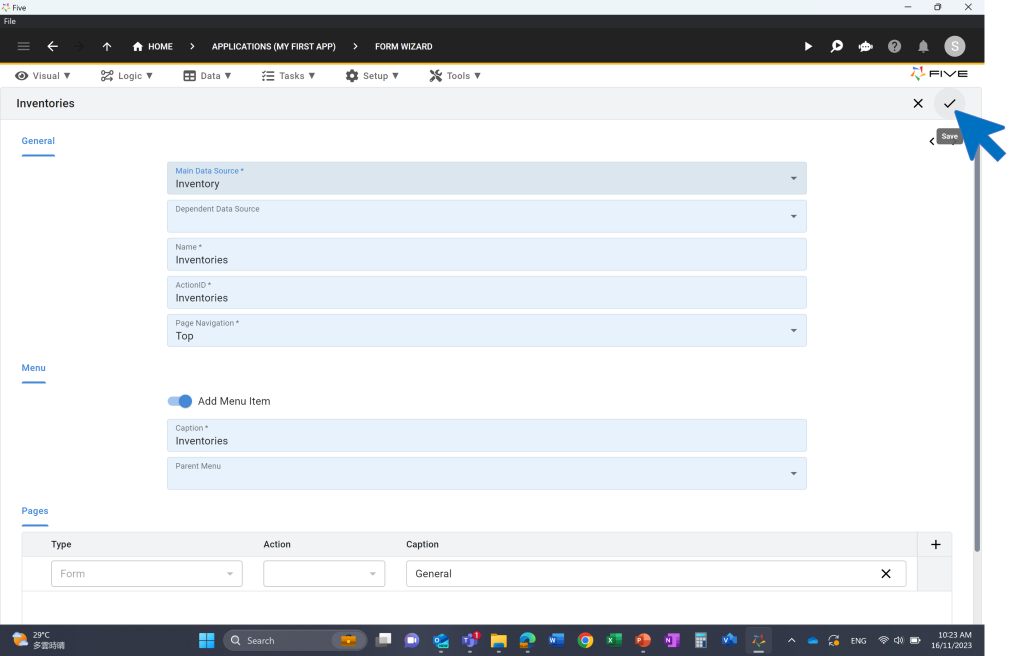
- Click on the dropdown box inside the Form Wizard’s General section, and select as your main data source the database table that you have just created.
This step is important: it brings together your back end, the database, with the web form, your front end. - Click on the ☑️ tick icon in the upper right corner, as shown here:
Our form is done. Let’s move on to step 3: launching the web form.
Step 3: Launching the Web Form
To launch your web form, click on the “Deploy to Development” button in the top right corner. This opens up your app in a new browser tab.
We have now created our first prototype web form. To add more features, consider adding a theme to the web form.
How to Secure a Web Form: Logins, Authentication, Permissions
Five’s form creator lets you build an online form quickly. In addition to its database modeling and form creation features, Five also lets you create different user roles with unique permissions to a form.
To add user roles or logins to your application, turn your application into a multi-user application. This automatically adds a login screen to your application.
Once users are required to login to the app, you can also add different user roles. For example, you could create one user role that can only submit forms. Another user role, on the other hand, can access a dashboard that summarizes responses from your form. To learn more about Five, visit our documentation here.